
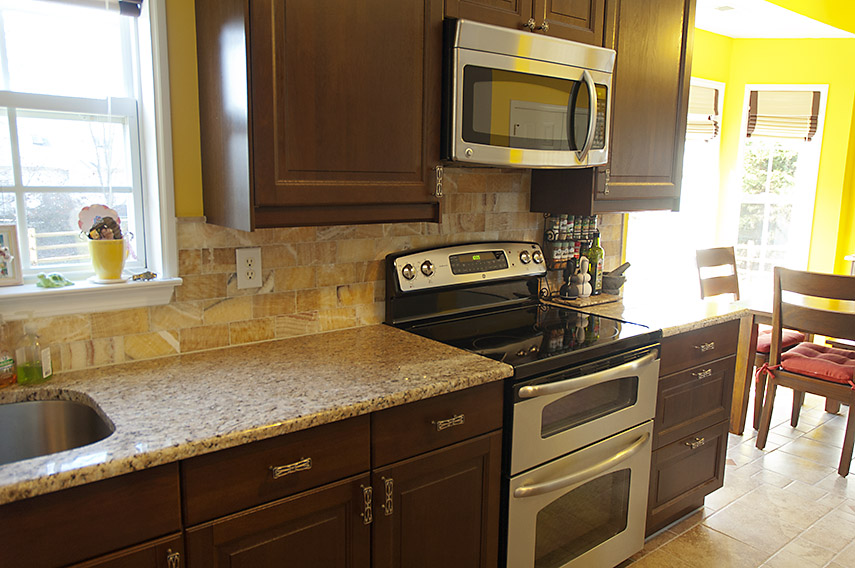
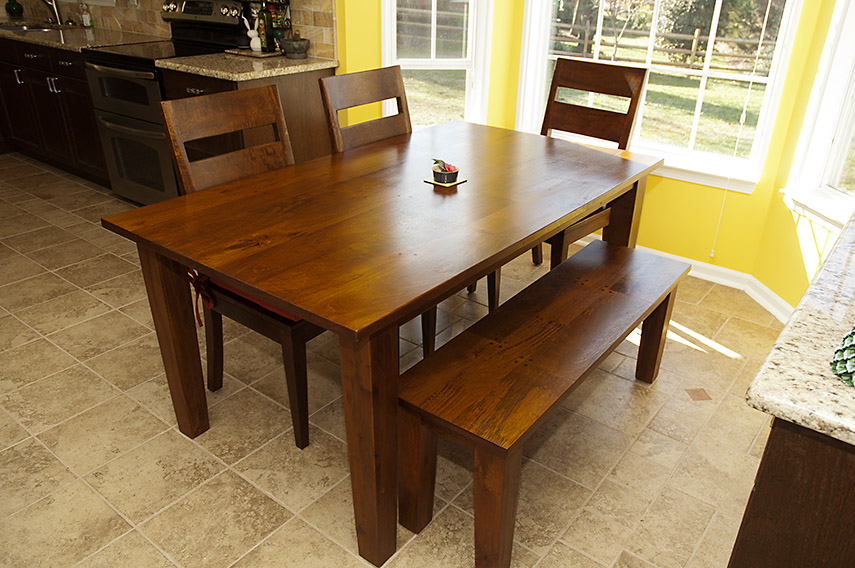
The two images below are the end of the story...
And this is where it began...
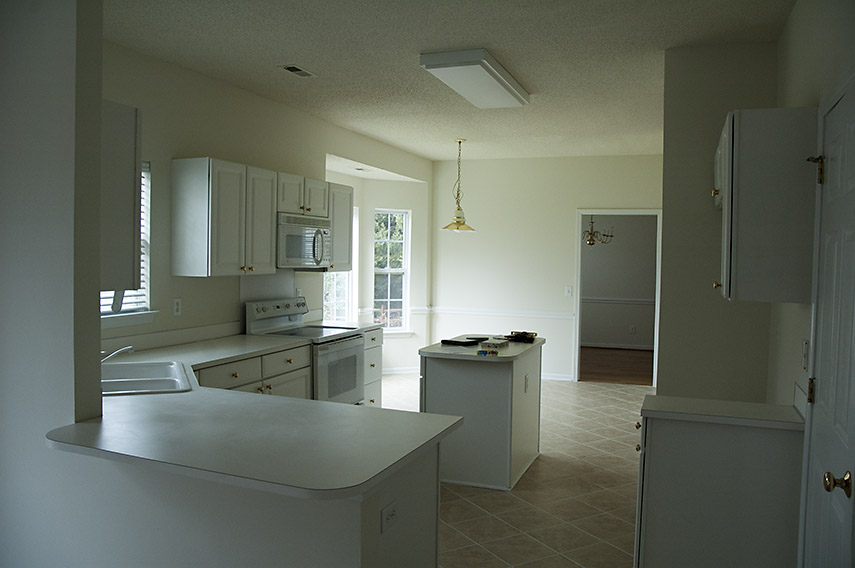
When we purchased this house, Johanna and I agreed that the kitchen was nothing short of offensive, and would need to be replaced as soon as possible. Formica surfaces, popcorn ceiling, white furniture with a splattering of gold, flourescent lighting - I half expected to find a Rosewell alien in one of the cupboards. It had a pointless island (more of a sandbar than an island), and the room wasn't large enough to support it, and the entire kitchen was odoriferous.
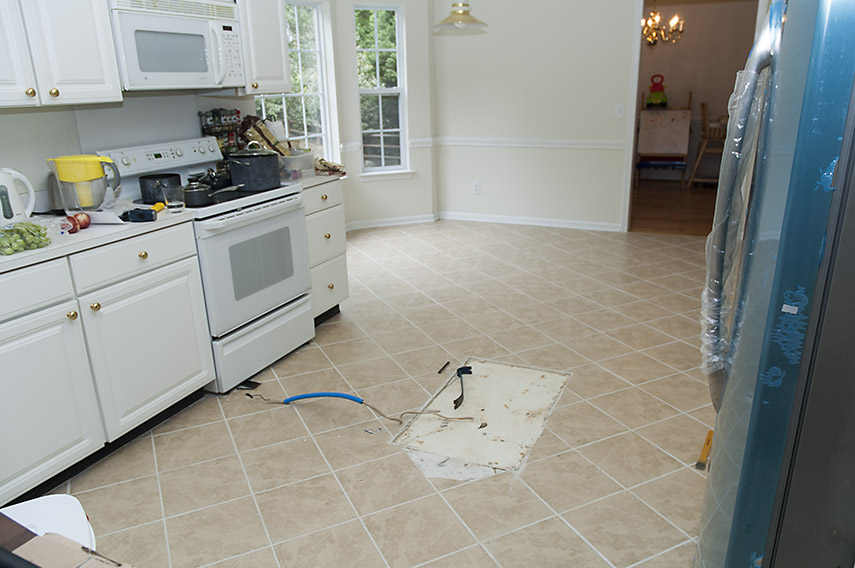
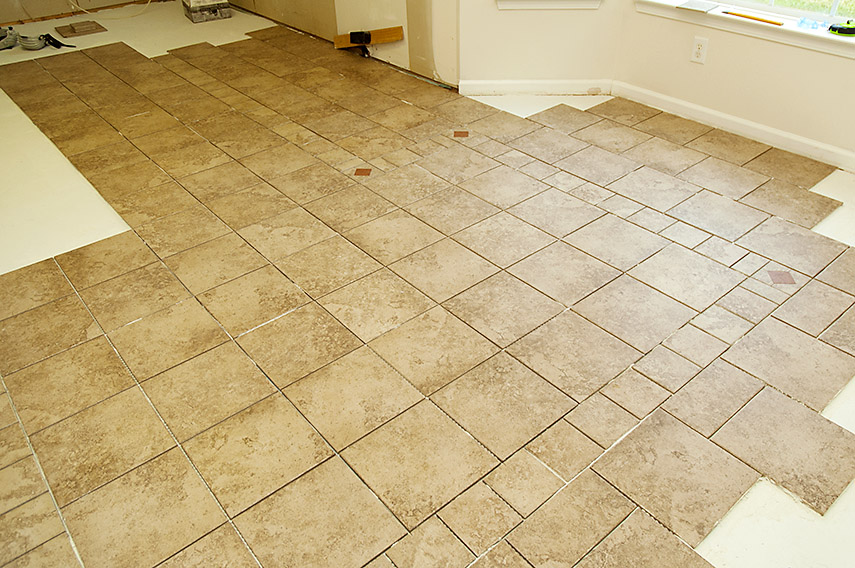
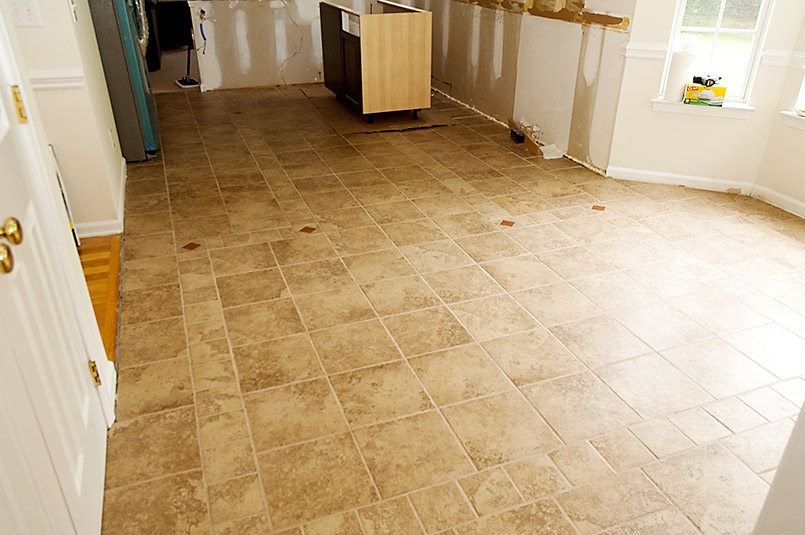
Removing the island immediately helped but revealed a hole in the floor that would be hard to repair. It was a shame really, because the floor was in good condition except for the weird angle at which it had been installed - not quite 45 degrees to the room, more like 40 ish.

The cabinet here was at 45 degrees, but not the tile. Nice job. So we'll rip that up and do it properly.
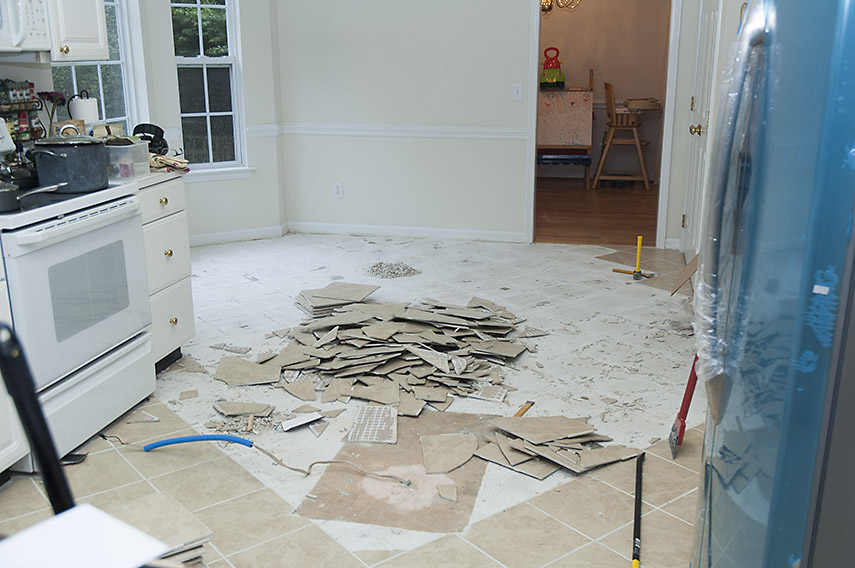
Lifting the tile can be fairly simple if you have the right tools. A couple of whacks (you should be able to count at least five whacking tools in this photo) and they'll pop off, but many were more stubborn.
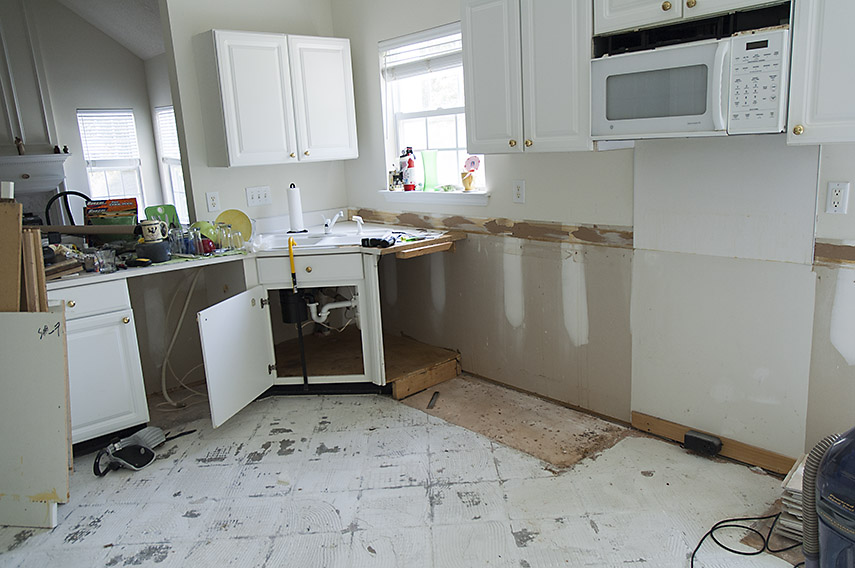
Tile removed, and onto the cubpoards. It looks messy, but hammering things to distruction can be fun.
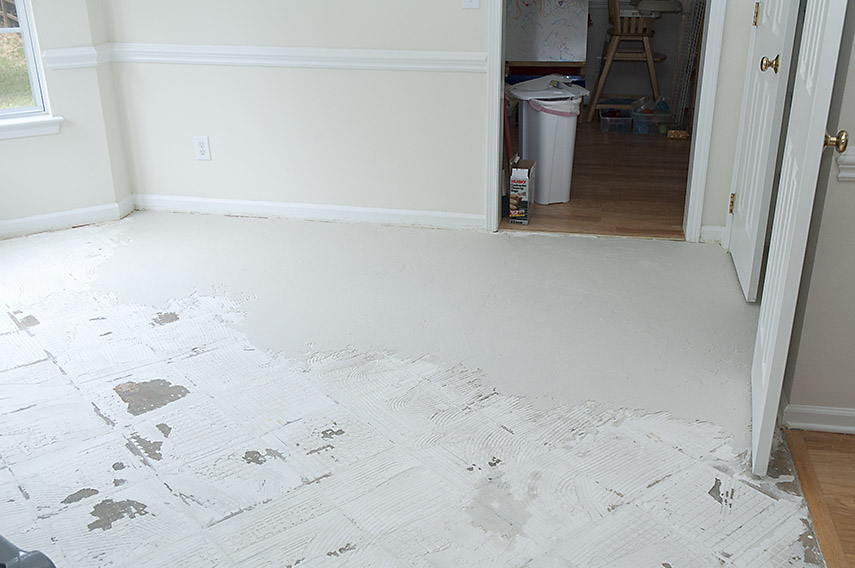
Despite several attempts, and a few choice words, the tile adhesive wouldn't come off the concrete, so I removed any loose stuff and skimmed it with fresh adhesive to give myself a flat surface to tile onto.
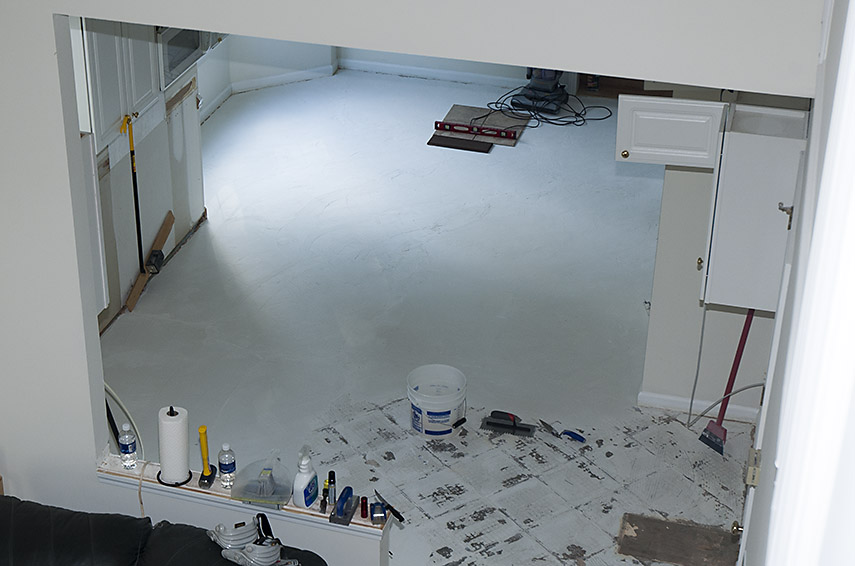
View from above, floor skimming nearly done.

I designed the new floor in sketchup. The old tiles were cerermic, for the new ones I chose porcelain due mainly to the thru-body composition which enables it to visually survive chipping better than ceramic, and they are more durable in any case. However, that meant I needed to buy a wetsaw to cut them - not an issue because the splash tile I had in mind would require this anyway, as would the decorative inlay tile I had planned.
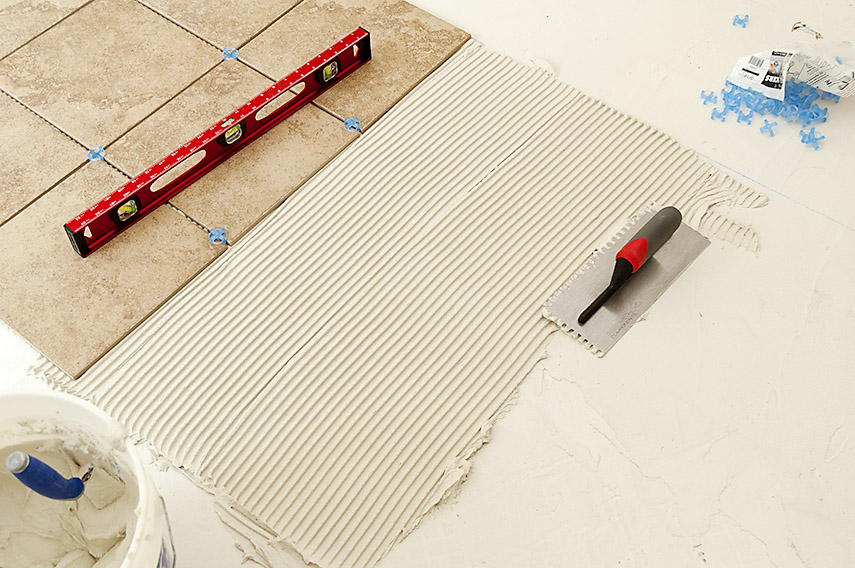
Blue chalk string marks the guidelines that the tiling is to follow. I applied the adhesive in sections of nine tiles at a time.
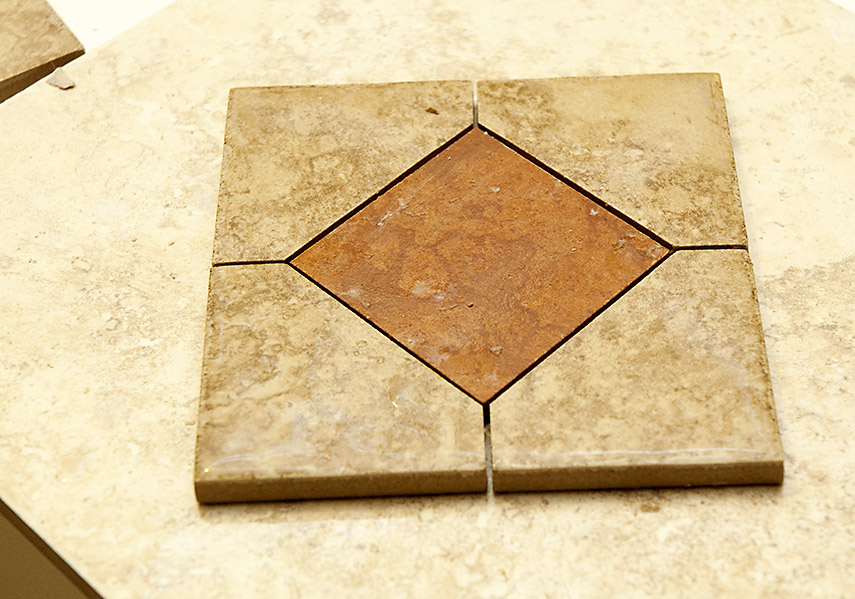
My overall floor design had two areas of 12" tile, the center area laid in a grid, the outer area layed bricklayer style, and seperating the two, a single line of 6" tiles with 'decoration' tiles at each corner. Due to the odd shape I needed eight of them. I made these custom corner decorations by cutting two different color (but from the same manufacturer) tiles. The wetsaw makes this fairly easy.
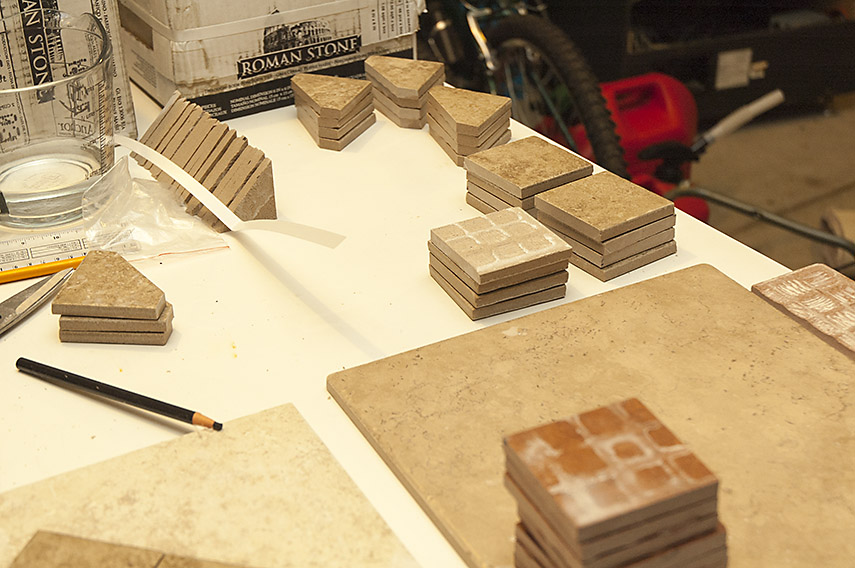
Stacks of cut peices waiting to become decoration tiles.
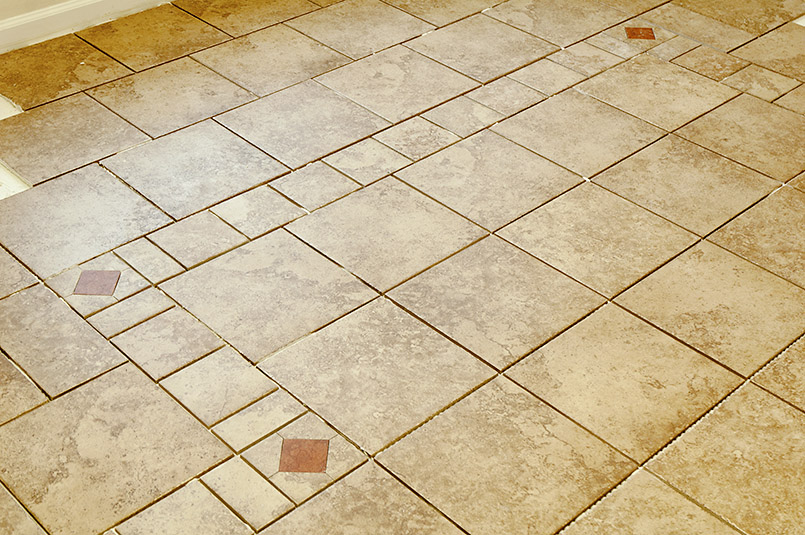
The design is starting to take shape.
Another view. The idea for the was to have the design hint at the walkable area of the floor vs the cabinet areas.
Grouting complete.
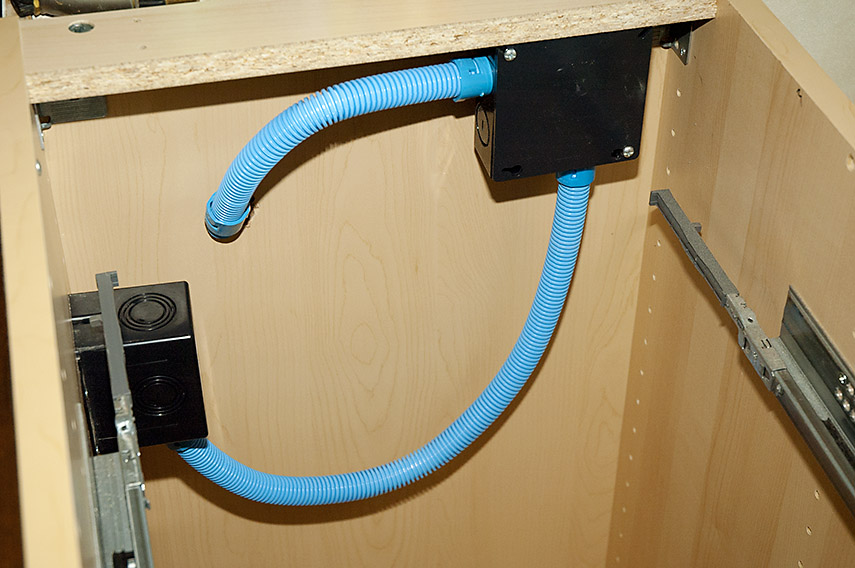
An end cabinet needed a power socket. Elsewhere, because I was adding cabinets where there were previously none, I had to move sockets from the floor up to the work area, add GFCI to any sockets that were now near counters, and add even more above the cabinets to eventually provide power to cabinet lighting. The NEC contains some restrictions relating to running lighting from appliance circuits directly, so to sidestep/comply with this, I put the sockets above the cabinets where you are then permitted to plug low voltage lighting systems into them.
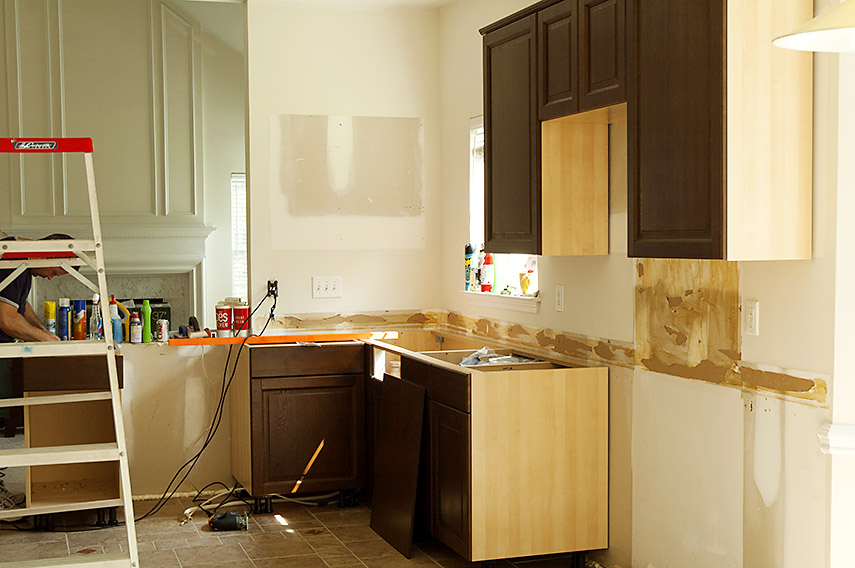
The cabinets came from IKEA, are reasonable quality and fairly easy to build. I did the planning myself and placed the order online. By far the hardest part was identifying which set of 6-ish boxes out of a delivery of 150+ go together to make a given cabinet - I knew the part numbers of the cabinets, but not of the four to six individual boxes which make up those cabinets. The cabinets above the counters have a really good system to mount them, I was able to do this alone.
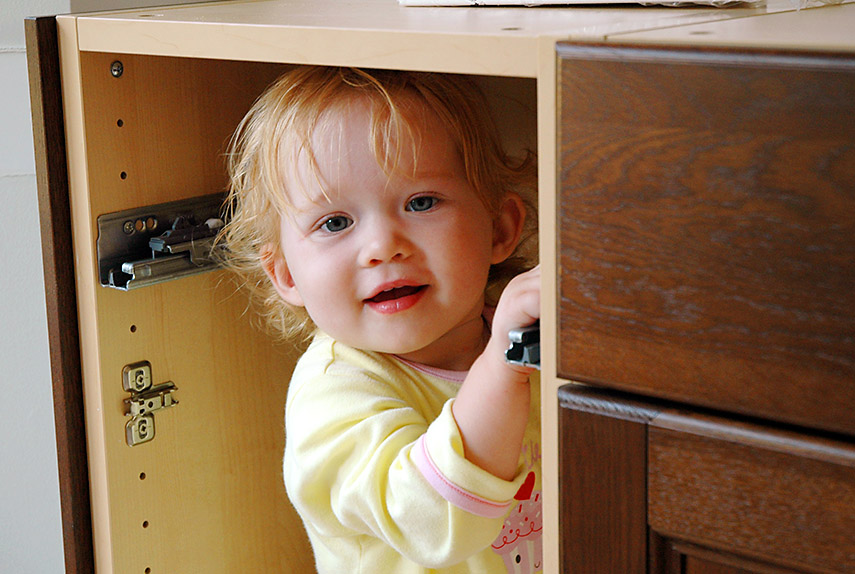
My youngest, checking the build quality.
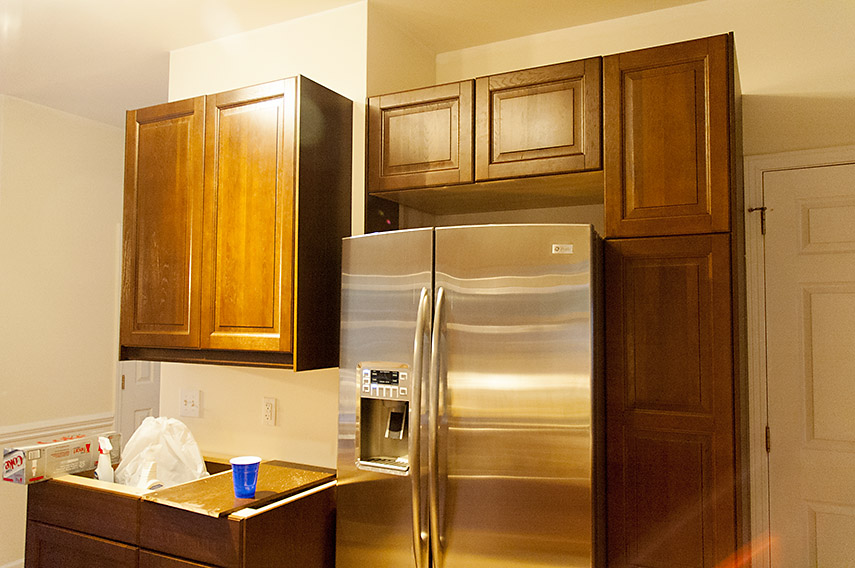
In leu of the island I had demolished, I added cabinets next to the fridge to create a coffee/tea making area. The space above the fridge/freezer was purposelully made to put something in there, but at the time I wasn't sure what. I was thinking along the lines of a wine rack, but ended up adding one of those on the wall next to the breakfast area.
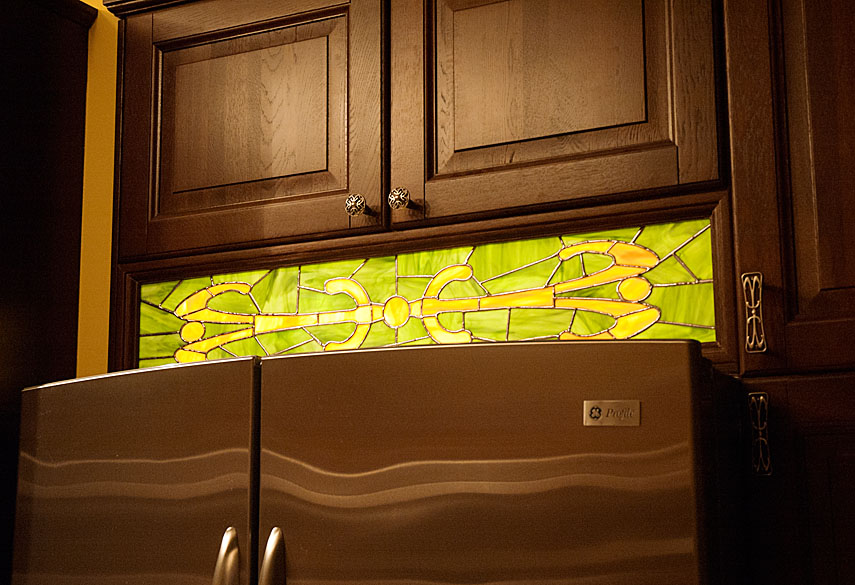
Ultimately I built a stained glass 'night light' panel, framed with the crown trim which I discuss in more detail here. I based the stained glass design on the cupboard & draw handles.
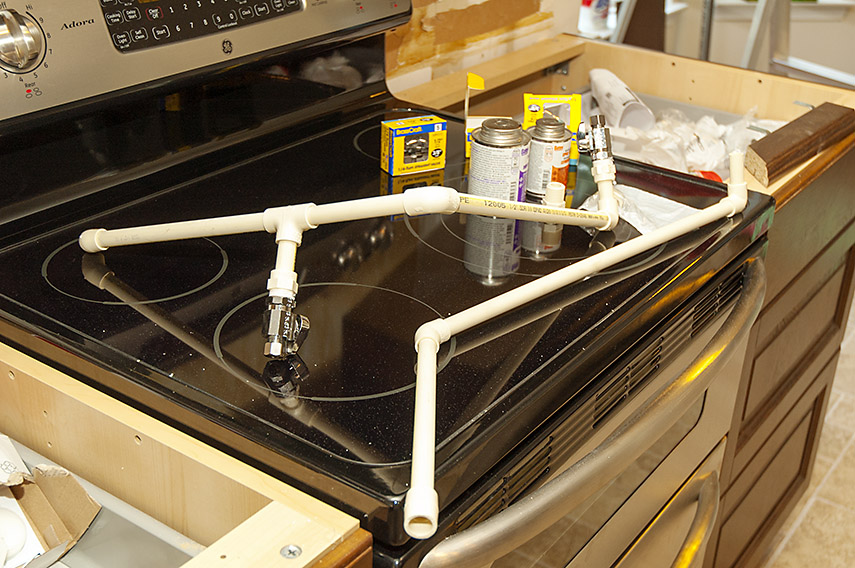
I moved both the sink and the dishwasher with the new layout, so had to plumb-in new water lines.
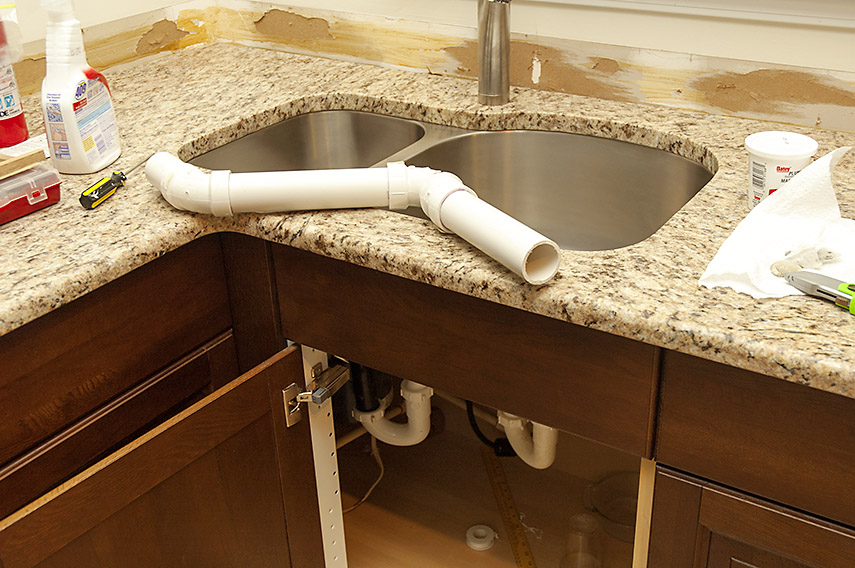
New drainiage had to wait until the granite and sink were installed. The granite was the only part of the project I outsourced.
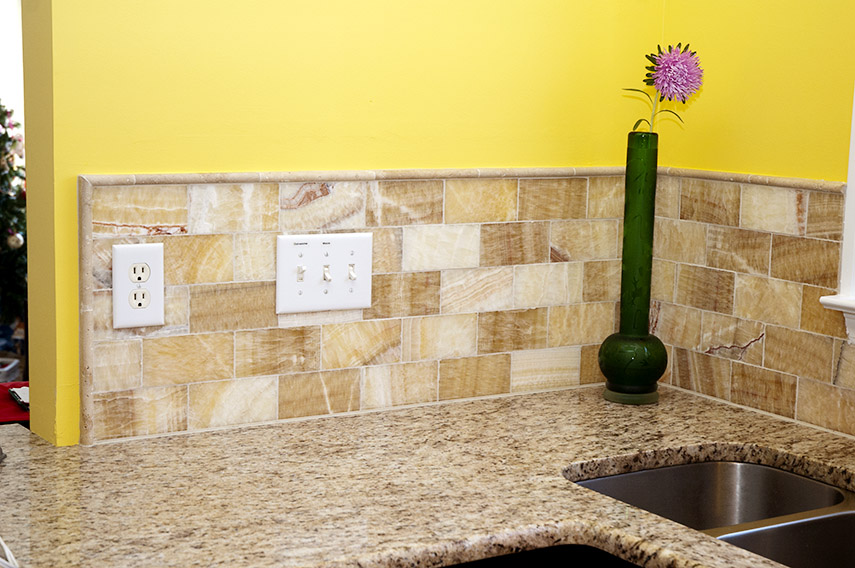
The splash is honey onyx subway tiles. These are natural stone, individually unique. Because they are translucent, each tile needed back-buttering prior to mounting on the wall so that the ridges in the wall adhesive wouldn't show through. They are (compared to marble) extremely soft and crumbly, horrible to work with, but render an interesting surface - it's a bit like looking at a slice of quartz crystal. At the time, I was able to find only one US importer who sold the unpolished tile. I ordered about 30% more than I would need and spent many hours sorting thorough the boxes of tiles, choosing the best ones to use. Not the cheapest of solutions by any definition. The tile trim is travertine, an underestimated material.

An aluminum strip protects the tile edge on the threshold from the kitchen to the hallway - a lip like this isn't perfect, but this can be improved when we re-floor the hallway. The texture of the tile really shows when the sun hits it, and encompasses the emotion I was attempting to instill in the design.
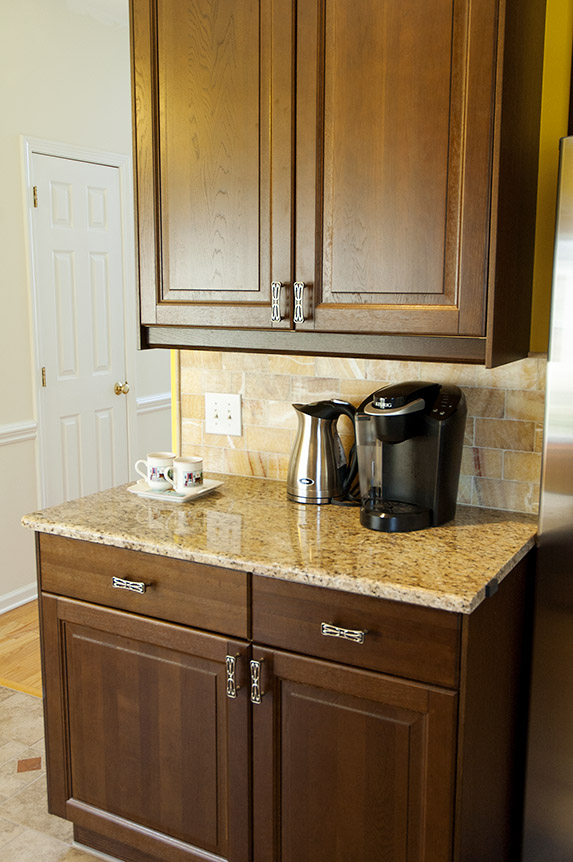
The coffee/tea zone next to the fridge.
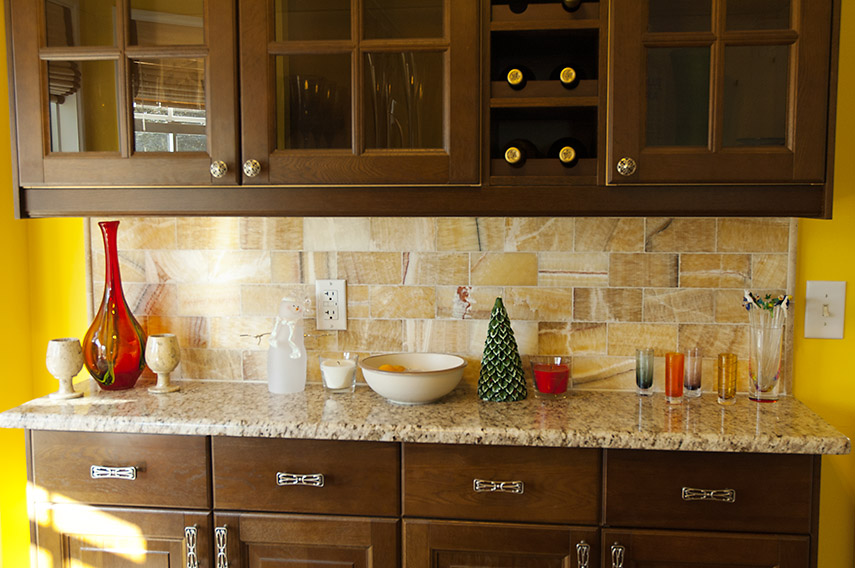
A new bar area using slim cabinets for base and above the counter, including a wine rack. This is next to the table.

And finally, the completed kitchen, with the windows framed, a new fan+light above the table, and (not shown) a strip of directional halogen lights to illuminate the cooking end of the room.