
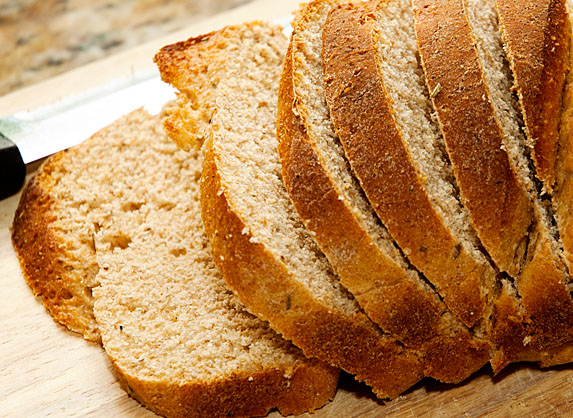
For many weeks of the year some 80% of our family bread supply is home-made. It really isn't that much effort. I let the bread machine do most of the work but like to do the baking in the oven. Over the last few years I've honed a Whole Wheat recipe that started life on page 56 of the bread maker instruction book.
A few general rules I've learned about bread machine recipes... you only need about half as much yeast as they ask for, you can add a whole bunch of other stuff without breaking it, you always need a little more water, water should be slightly warm; approximately body-temperature, and the whole wheats usually work out better if you include some white flour.
Some whole-wheat flours lack a key protein that develops gluten, which can lead to the bread not rising so well. Adding some white flour helps, and I find it gives a preferable texture too. The ratios of flours I use depend on how much of each I have, and how 'rustic' my target bread is going to be. From the following ingredients, typically the whole wheat content will be at least 2 3/4 cups, but if I don't have Rye it gets substituted with white or whole wheat in that order of preference.
Ingredients
- 1 and 5/8 cups water
- 1/3 cup of brown or natural sugar
- 3 tablespoons olive oil (sugar alone is enough food for the yeast, adding oil improves the bread texture)
- 2 teaspoons salt (do not exceed this, it adversely affects the yeast)
- 2 and 2/3 cups whole wheat flour
- 1 cup white flour
- 1 cup rye flour (substitute white if you don't have/like rye)
- 1 1/2 teaspoons active dry yeast
Optional (and any my usual) additions
- 1/3 cup of whole flax-seed meal (adds a nutty flavor)
- 1/3 cup of toasted wheat germ (adds texture. Alternatively, throw in a Weetabix cereal bar)
- 1 tablespoon dried basil
- 1 tablespoon dried thyme
- 1 tablespoon dried rosemary
- 1/4 cup of additional water (to balance the added flax and wheat germ)
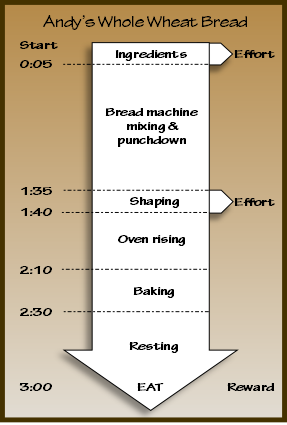
Throw it all into the bread machine, usually water first, yeast last. Run machine on dough cycle, mine takes 1hr 30mins, set a timer or listen for the beep. Flour a work surface and your hands, then remove the dough from the machine.
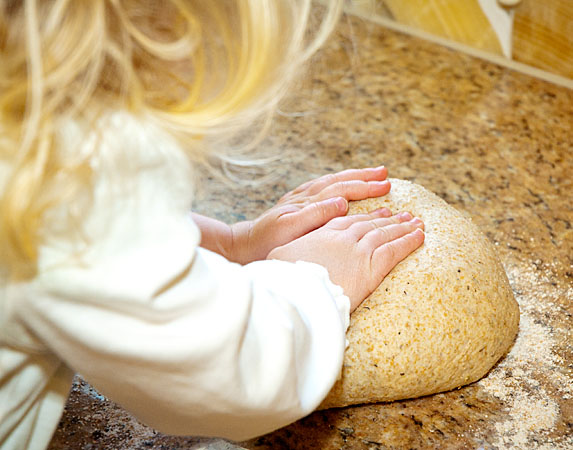
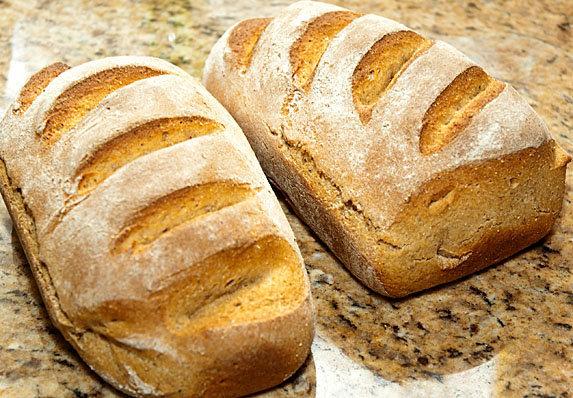
Using the oven to bake instead of the bread machine allows me (or in this case Julia) to shape the loaf. I can just tear off small balls, about 12, and make rolls. I can make one huge loaf, one small loaf and some rolls, or roughly 20 bread sticks. I've even rolled it into three long snakes and platted them. However, I usually hand-roll/pull it out to french-loaf dimensions, score it, cut it in half, put each half into bread pans and end up with loaves that are shaped suitably for freezing or toasting.

After shaping, I rise the dough in the same place I'm going to cook it (having had some suffer thermal shock being moved out of alternate rising places before). Put the dough in the oven and heat it to 130F, switch the oven light on and leave it for about 30-40 minutes. Use a timer set at 30 minutes... timer's don't forget there's an important biological process going on that needs to be halted at the appropriate moment.
Once the dough has doubled in size (and no more than 50 minutes) it needs baking. The size change can be determined without opening the door... I use the transparent properties of the glass and the illuminating properties of the oven light to assist me. Set the oven to 420F and set a timer for 20 minutes. The oven will use some of that 20 minutes getting up to 420F, and in that time the bread will continue to rise. When the timer goes off, I check the bread for a golden crust color and remove it, usually no more than 5 extra minutes of bake time is required. At this point the bread will survive the door being opened for an unencumbered 'golden' inspection.
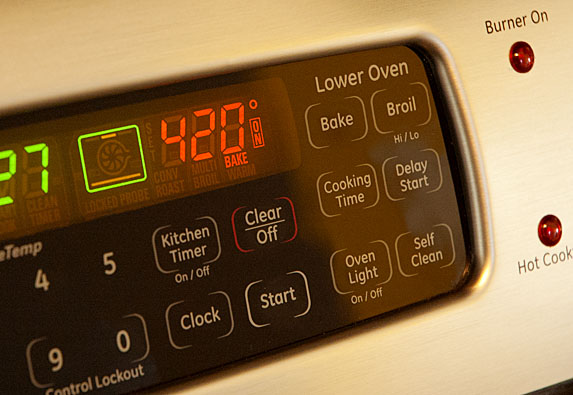
For a firmer crust, as soon as the oven has reached 420F, I open it and throw in about 1/2 cup of water onto one of the hot sides of the oven and slam the door closed again to avoid getting a face full of hot steam. I aim the water away from the bread, it does no good getting it wet. The steam produced does the magic.
Once baked, I remove the bread from the pans or baking sheet, and let it rest in the air (backing racks are good for this, or I just rotate the loaf 90 degrees and pop it back onto the pan it came from). It is ready to eat about 30 minutes after baking.
Enjoy by tearing a few chunks off a loaf, pour some olive oil into a dipping pot with either balsamic vinegar, a dried herb mix (basil, oregano, thyme, rosemary, black pepper, garlic powder), or just a sprinkle of salt ... and start dipping.