
A few years ago I made a long PC/gaming desk downstairs by butting two IKEA bookcases with attached desks together.
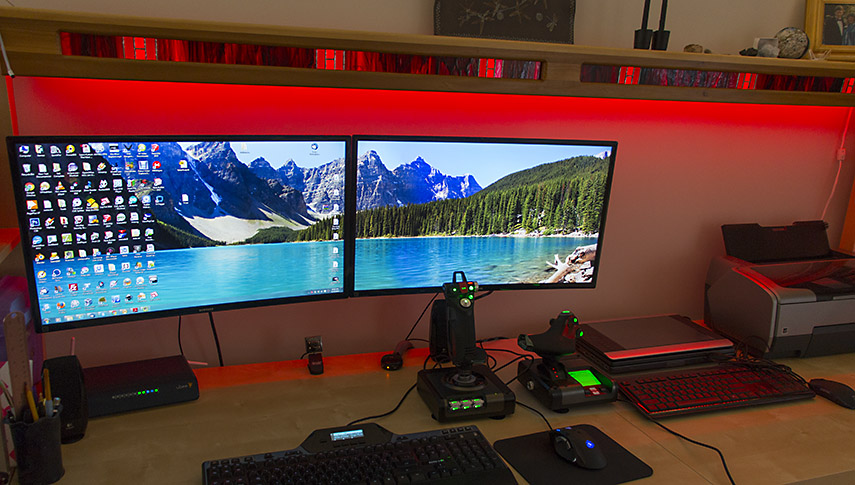
Ever since, I wanted to build additional components to increase the desk surface area, and provide a decent lighting solution for the 'work' space. Part 2 of this project (and I have yet to tackle part 1) was an illuminated shelf that ran between the two bookcases that form the desk ends. This is how it looks:
To start, a quick visit to Home Depot was required to purchase 8ft strips of poplar. This is a wonderful wood IMO, it's my go-to soft 'hardwoood'. I was able to construct the shelf rapidly because it involved just three cuts.
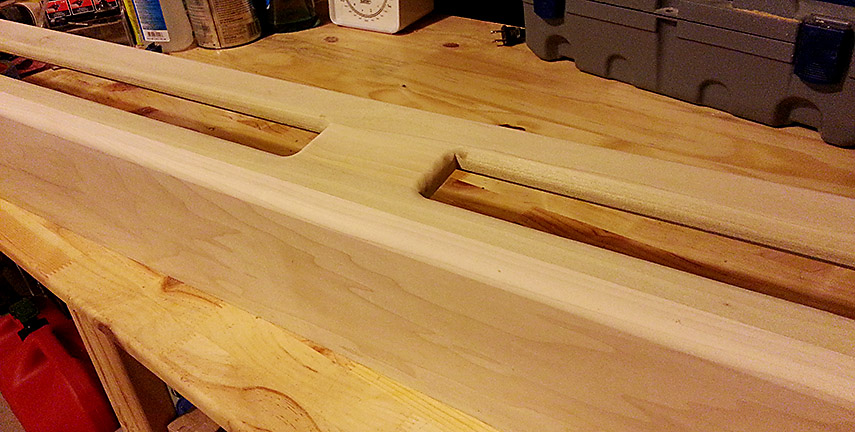
The design is essentially a plank of wood suspended between the top of the two bookcases with stabilizing horizontal support from two narrower strips configured so that two 'windows' of the facing panel could be populated with backlit stained glass. The face-panel support not only looks nice but prevents the plank from sagging.
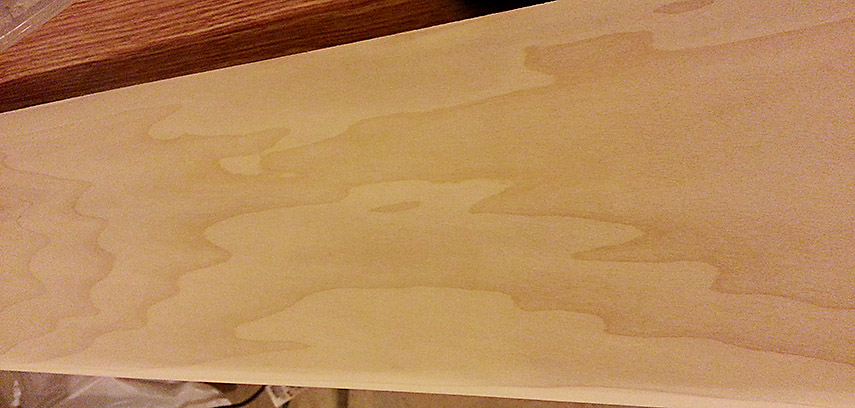
Unfortunately, you have to be 8ft tall to see the natural grain when the shelf is installed, but I enjoyed it when I was making it.
Prior to glue-up, I routed a rabbet on the back of the stained-glass openings to inset the stained glass. After glue-up routed the front of the openings with a roundover bit.
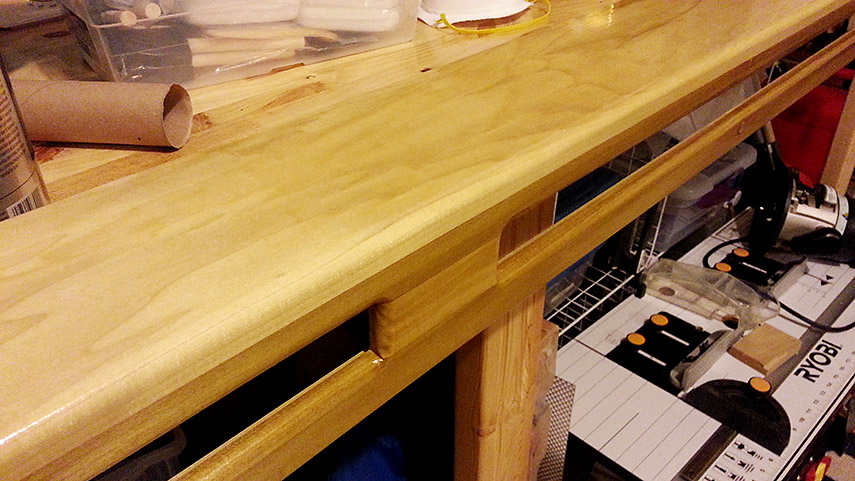
A few coats of varnish on all sides to protect the wood.
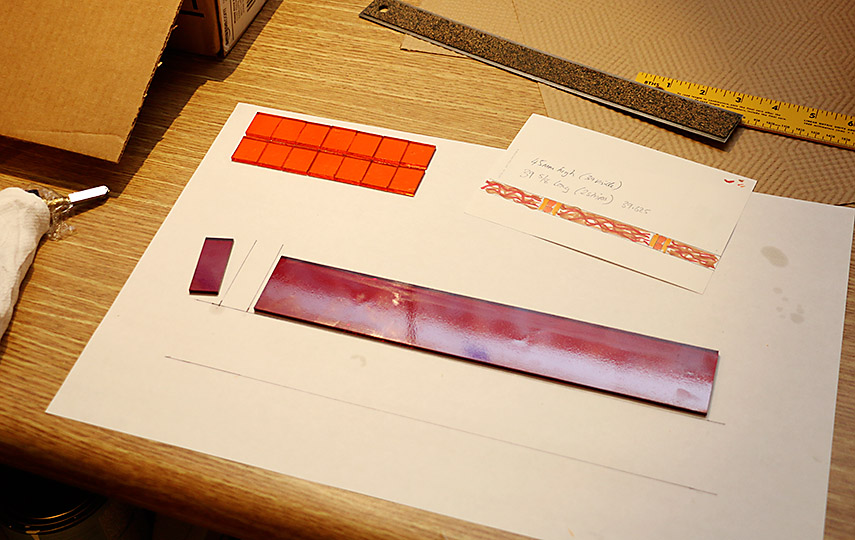
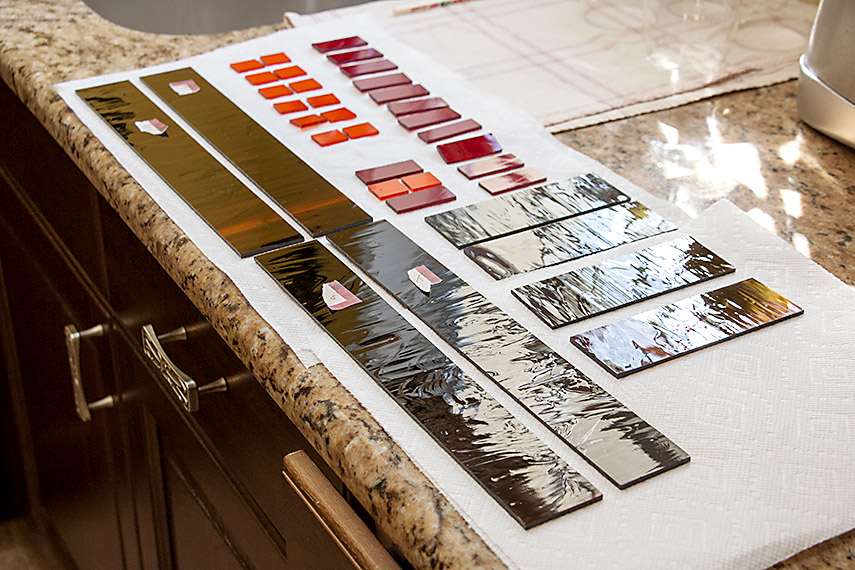
I had purchased a couple of sheets of tortoiseshell stained glass for the kitchen project but ultimately my wife chose an alternate combination for that (one that aligned with the existing decor) which meant I had it left over and as it was still a favorite of mine, I used it here. Using some red and yellow bits for contrast, I came up with a design.
I kept the stained glass design simple on purpose (no curved cuts so I could avoid the diamond grinder stage), it took about under an hour. The little flags mark the front of the glass because there is a subtle texture difference between the back and front of that piece, they were also paired based on streak positions.
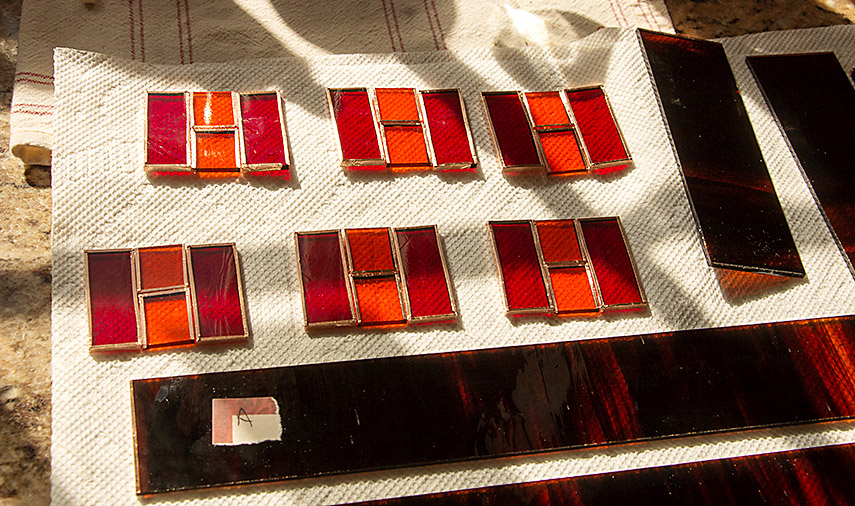
Here the pieces are foiled ready for soldering. For the tortoiseshell pieces only the sides needed foil & solder.
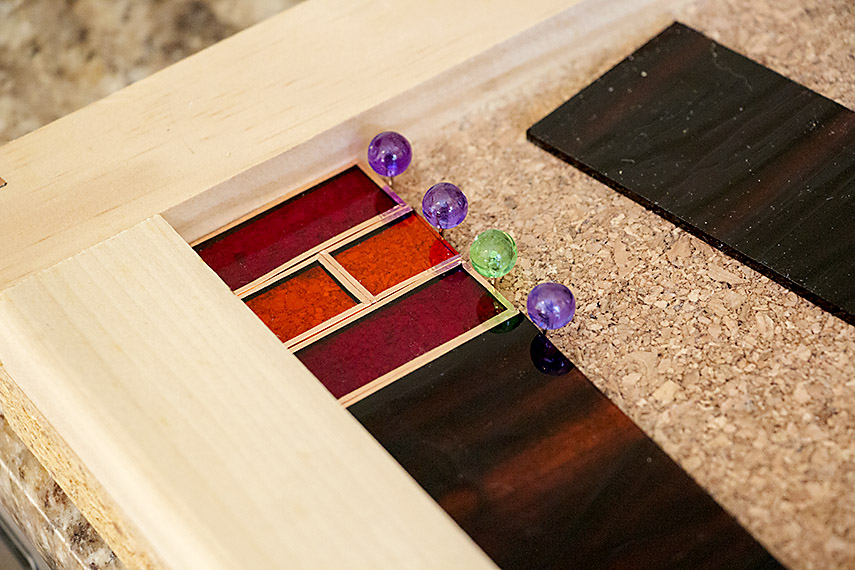
I had built a soldering jig for the kitchen stained glass project. Pins hold the glass in position for soldering.
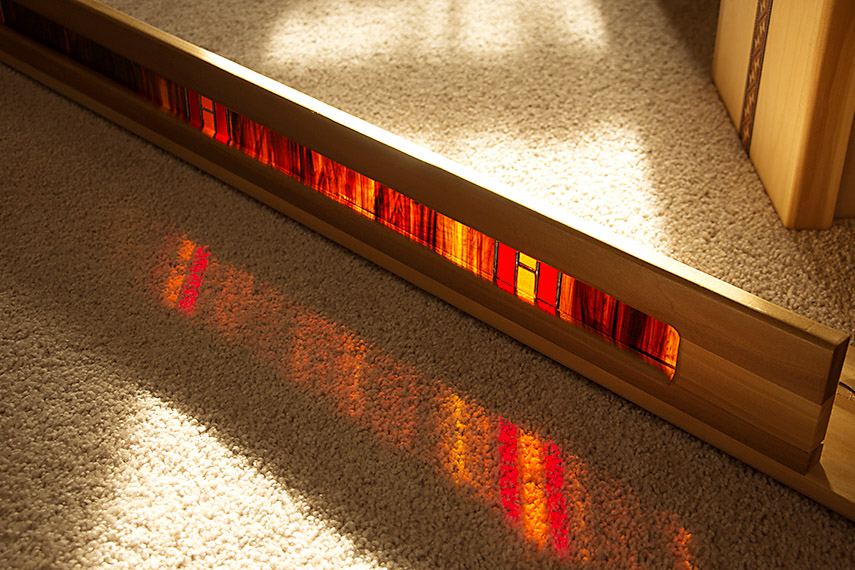
Nothing lights up stained glass better than the sun.
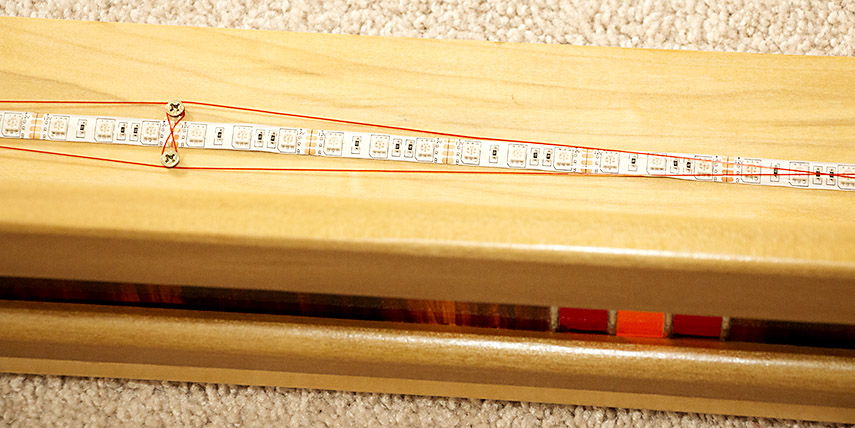
Illumination is provided by a single-color RGB LED strip (that is, the entire strip is the same color at the same time). The 3M tape on the back of the strip turned out not to be strong enough so I deviseda non-obstructive anchoring system with some screws and fishing line.
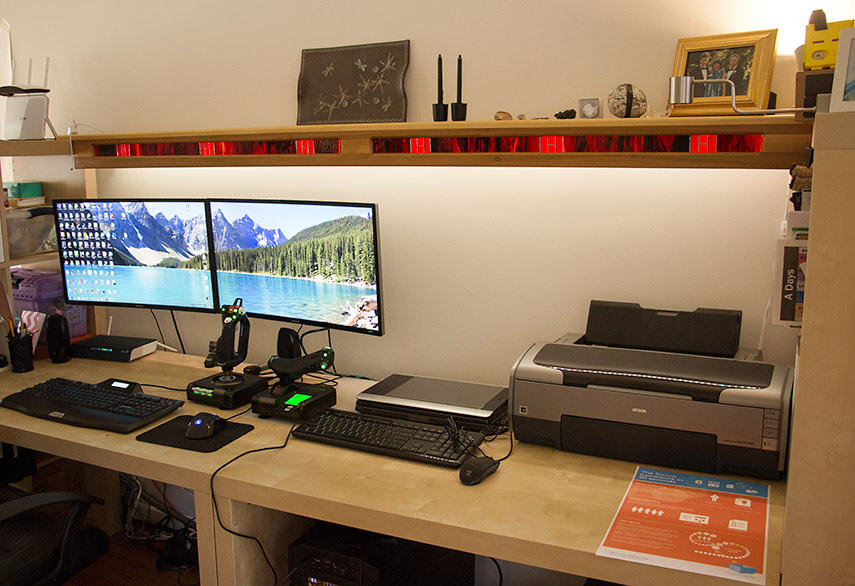
Here, set to 'white', is the shelf which my wife already loaded up with mess.
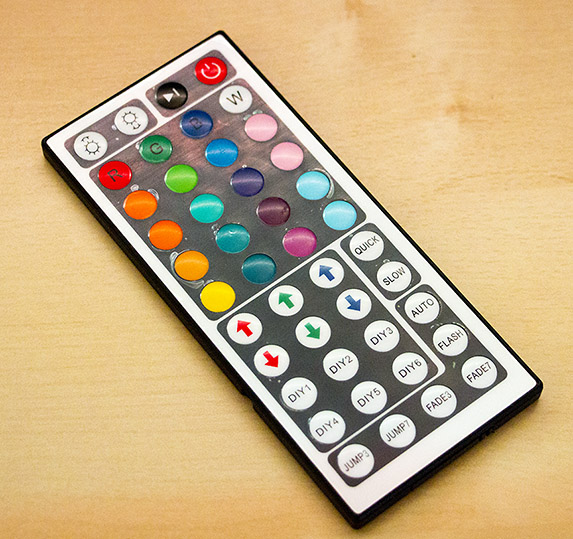
The remote that comes with the LED kit provides fine control of the Red, Green and Blue levels and 6 'memory' settings. It can also perform color cycling at various speeds but we tend to stick to the static single-color modes.
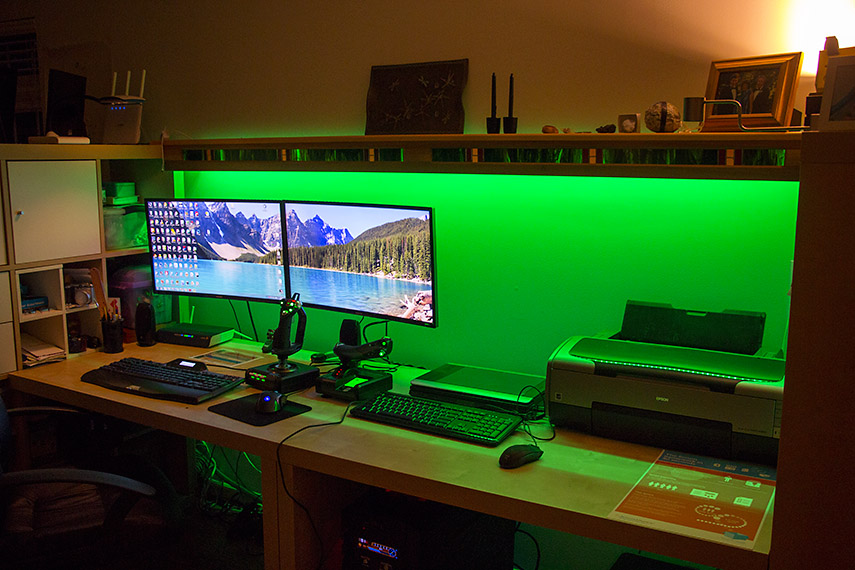
At night, in 'Green' mode.
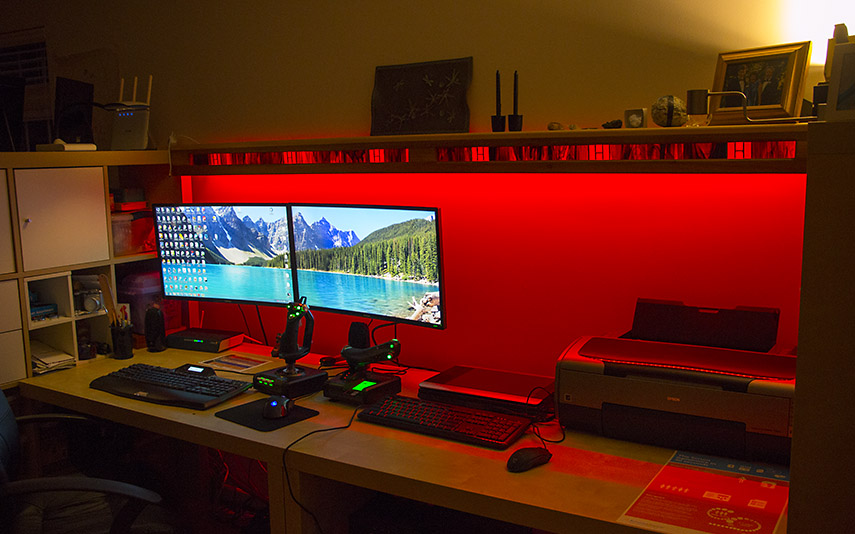
'Red' mode. I switch the color sometimes depending on mood, season, or which game I'm playing. Red, orange, yellow, and white show up best through the glass.
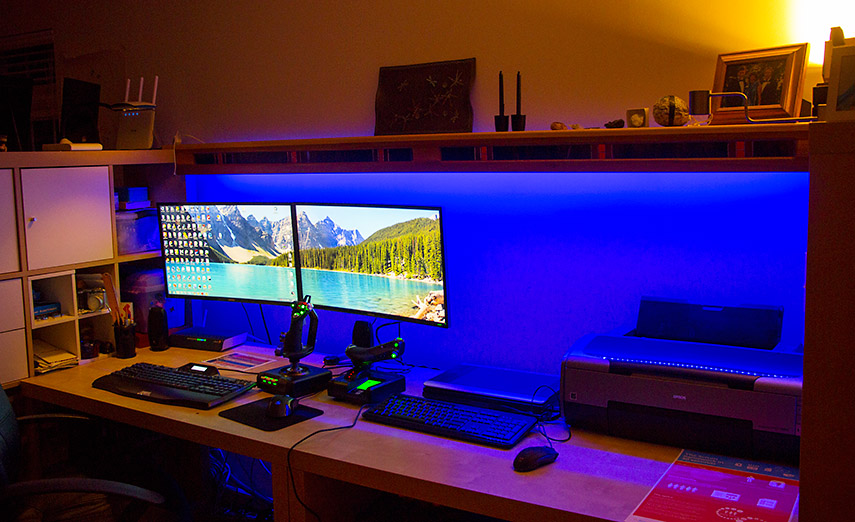
With blue, not much backlight is visible through the glass. If I ever make another one (or I can easily modify the existing glass anyway), I think I would expand the little orrange/red features with a thin slither of blue glass on either side.