
In our main room, we have a corner with two windows that is ideal for growing things. But cramming a bunch of herbs onto two window shelves isn't ideal so I set out to build something to hold them 'in the light'. I had been mulling over an idea of a step-shelf affair and then one day came across a visually interesting solution on the internet that I inspired my design. Here's the result:
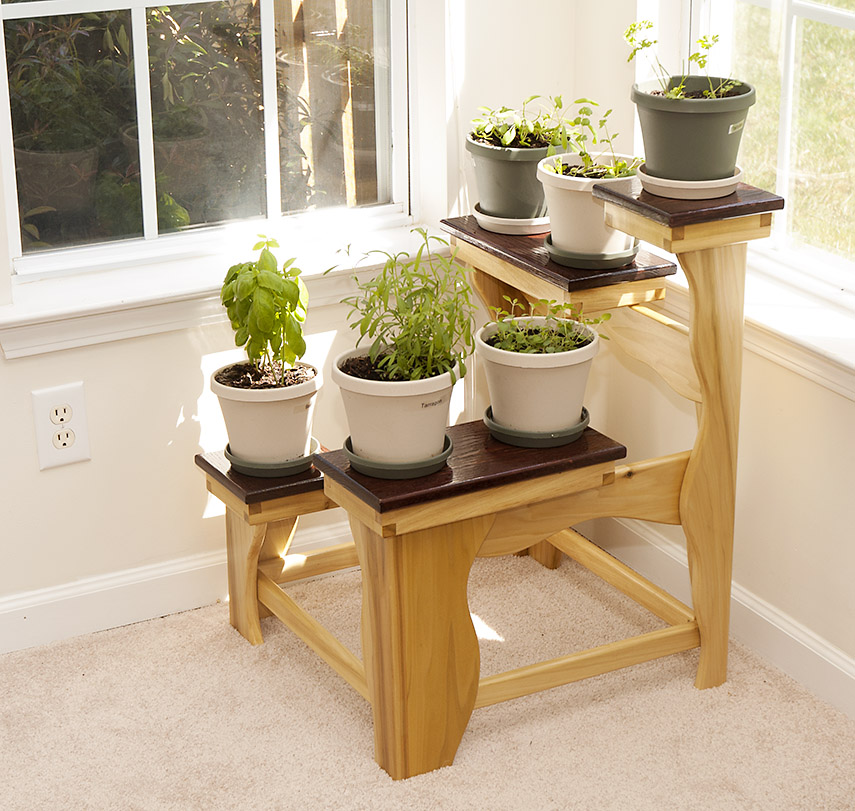
I based this on someone else's original design that had 4 square tops at different heights. For mine, I extended two of the tops to allow the planter to support a total of six pots, but I kept the organic flowing legs concept because I consider it attractive. I hand-drew some long curves onto the wood and then followed those lines with a jig saw. Unfortunately I didn't take any construction photos for this project.
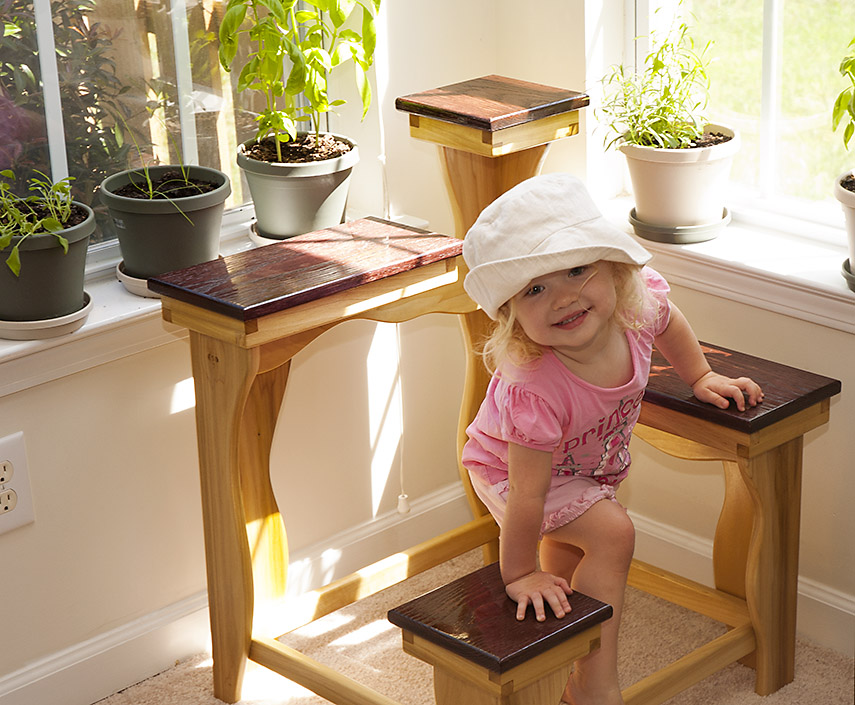
It doubles as a play set for small creatures.
The legs are Poplar and the tops Red Oak. Both are hardwoods. Poplar, like Cherry, changes color with long-term exposure to the sun, so over time it looses the weird green and purple accents and takes on a wonderful golden color. Oak is much harder to work with (denser, harder to cut, harder to finish, and nastier to sand & breathe) than Poplar, so respiratory protection is required. For this piece, I stained the Oak but the Poplar is natural. Both received several layers of polyurethane protection.
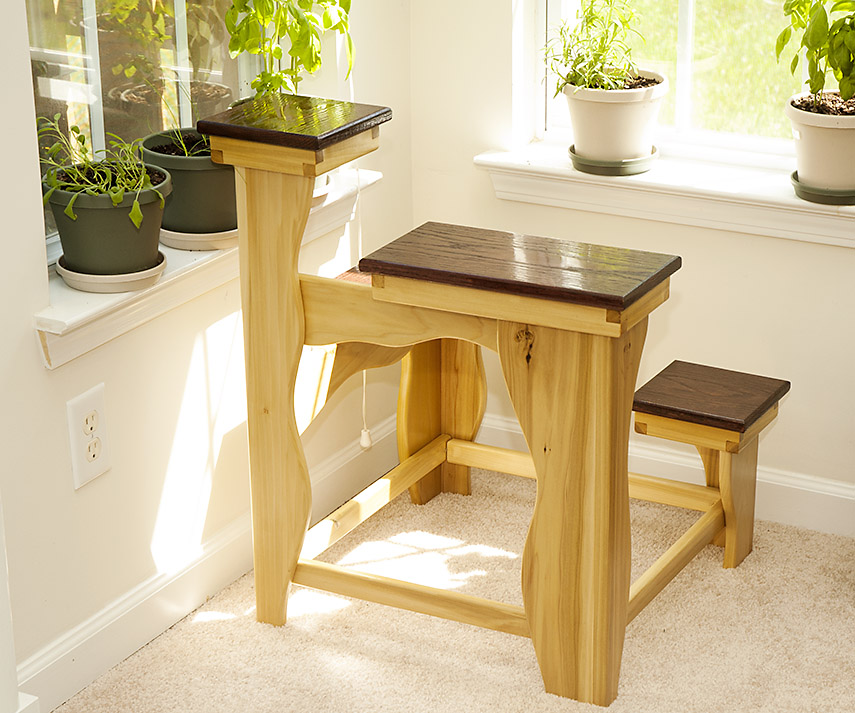
This is the other side. My original concept had the orientation such that maximum light would land on the plants; with the lowest shelf closest to the room corner, but aesthetically we ended up rotating it so the highest shelf takes the corner. The 90 degree joins on the longer legs were seamless, I was very pleased with how they turned out.
I designed the center area of the planter quite large for a reason... so that eventually I would build a Tiffany style stained-glass pyramid or dome that starts from the bottom supports (hiding the inside and top edges of those) and goes no higher than the bottom shelf, but 2 years have passed and I still haven't even come up with what that might look like. It will however, if I ever make it, be illuminated, and at night should look pretty cool - most things do.
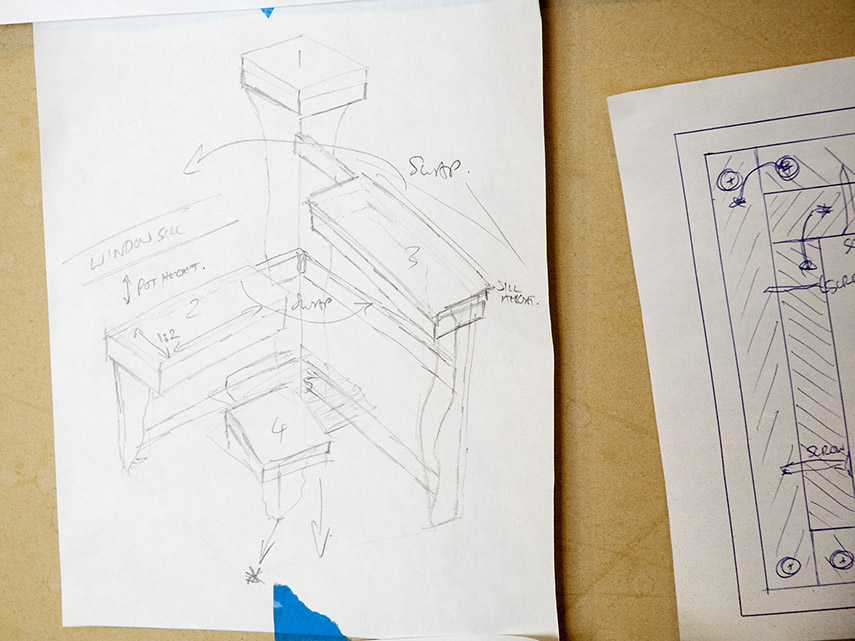
These are my design sketches taped to the wall above the workbench; I didn't bother with sketchup for this one ... too many curves.
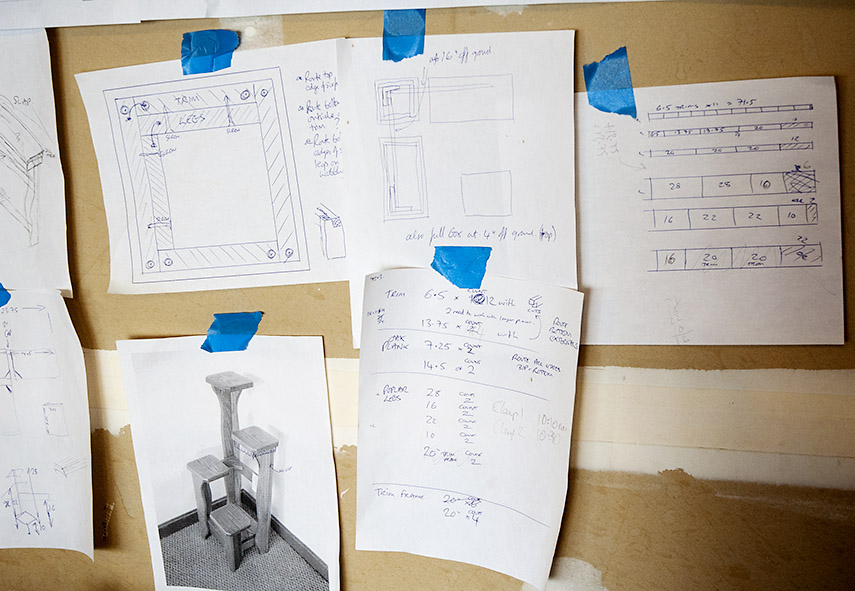
In the photo at the bottom right is the inspiration... the original is more elegant than mine, but less practical for the use I had in mind. I created the other diagrams to plan construction of the shelf tops and cutting sequence etc. I don't know who created the one in the photo, but I'd like to thank them for the idea.
Lessons learned: Make the bottom supports 3"x1" for enhanced stability; higher than the thin 1" pieces I used. Don't roundover route the ends of those support pieces where they join each other. Two simple mistakes I made through not planning this properly.