
This was supposed to be a weekend exercise to replace a builder-grade plinth wash basin with something neater, replace the rotting wooden floor, and generally de-lame the guest bathroom. One weekend, two tops right?.. Ha. Removing the toilet was simple, as was disposing of the old basin. I had painted the room just a few months before (we had family visiting for a couple of weeks), so this really was just floor, wall, replace basin, bit of plumbing, re-seat toilet and tidy up. But I knew I'd underestimated as soon as I ripped up the first section of floor. Some ungodly sticky adhesive remained on the concrete that nothing in my army of chemicals would touch. If it's still that sticky after 15 years, it's obviously evil.
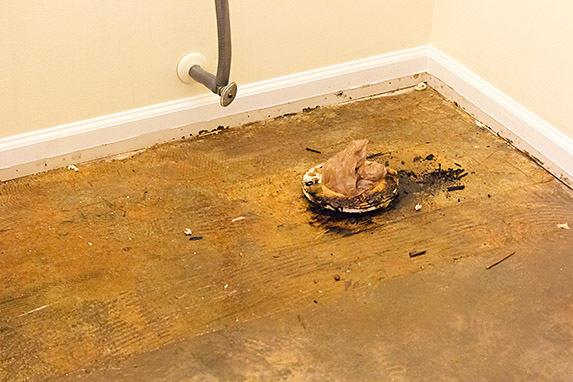
My first visit to Home Depot and Lowes resulted in the purchase of two different liquid commercial floor adhesive remover. I scientifically divided the room in half and each one to half the floor. They both had the effect of making the sticky residue damp, and smelly. Very smelly. But that was about all they did, even after 30 minutes of application.
Returning to the store (and after a discussion with my neighbour, who is a general contractor), I picked up a 4" blade scraper, with a two foot long handle which can be hammered if necessary. I also, and this is the key ingredient, bought two spray bottles of Goof Off heavy-duty remover. This consumer targeted label remover did the trick ... within a few minutes it melted the adhesive residue into a slime that could then be scraped. Repeat, and repeat again until the floor stops being tacky. But now, I had lost the first weekend, and my crowbar, blade scraper, hand scrapers, gloves, my arms and clothes were all annoyingly sticky.
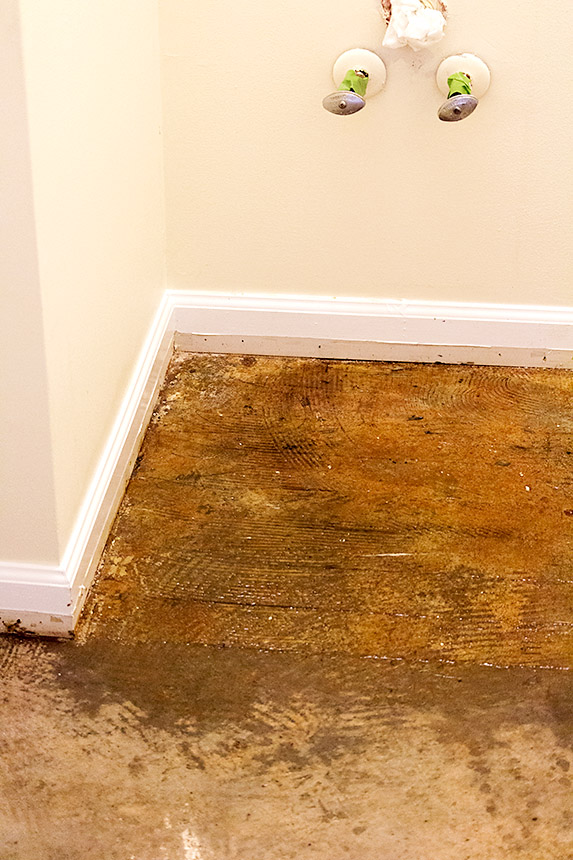
Later in the week, I donned a dust mask and hit the floor with a rotary abrasive tool to try to break the seal the adhesive had formed on the top of the concrete (I had tile adhesive that would need to dry). In hindsight, I should have abraded the entire surface instead of the usual swirly 'key' patterns because the water-based tile adhesive still took about 4 days longer to dry than it should have.
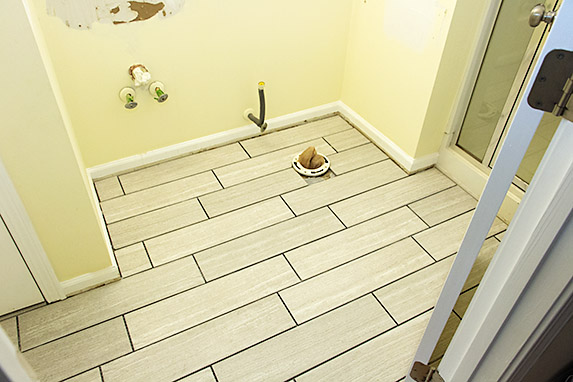
We liked these plank-style tiles. Small odd-shaped rooms can be more challenging than large ones, so I did one half of the floor first, then continued with the other half the following weekend. Allowing for 7 days for the first half to completely dry, we are now at the end of weekend #3.
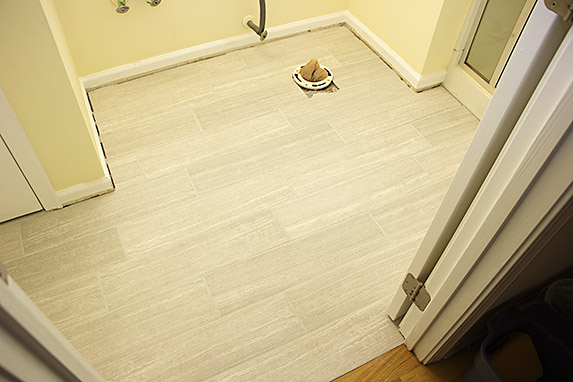
Another 7 days for the second half to dry, and I could grout the floor. This is day 1 of weekend #4
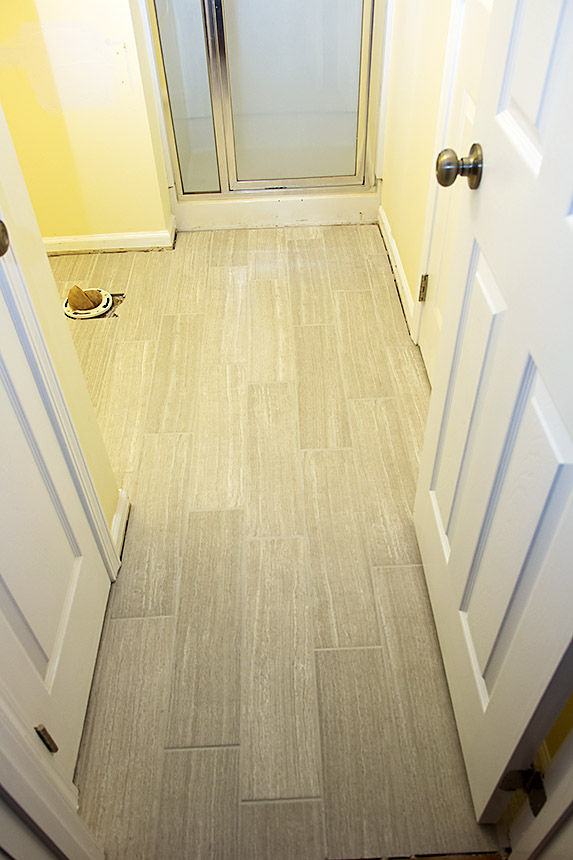
Looking from guest bedroom into bathroom.

With the floor dry, I could start the wall tiles. These were completed over two days, taking me to weekend #5
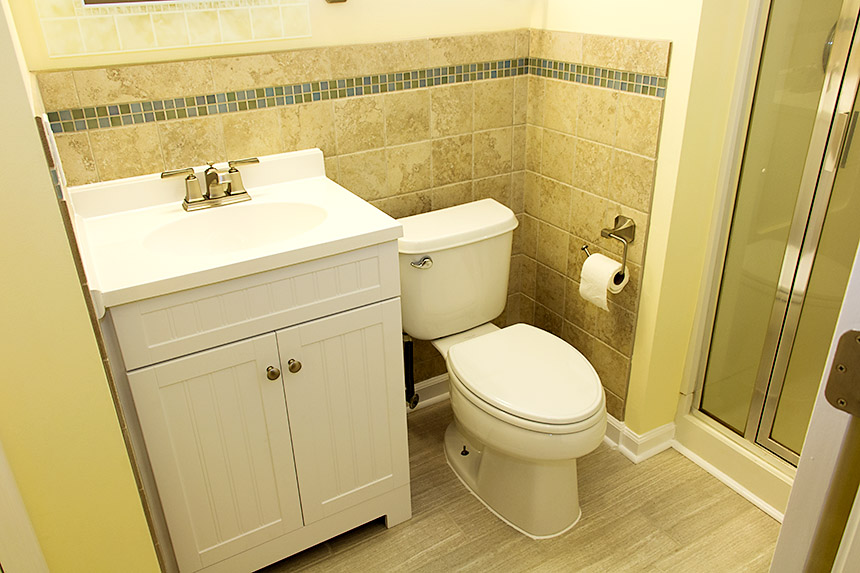
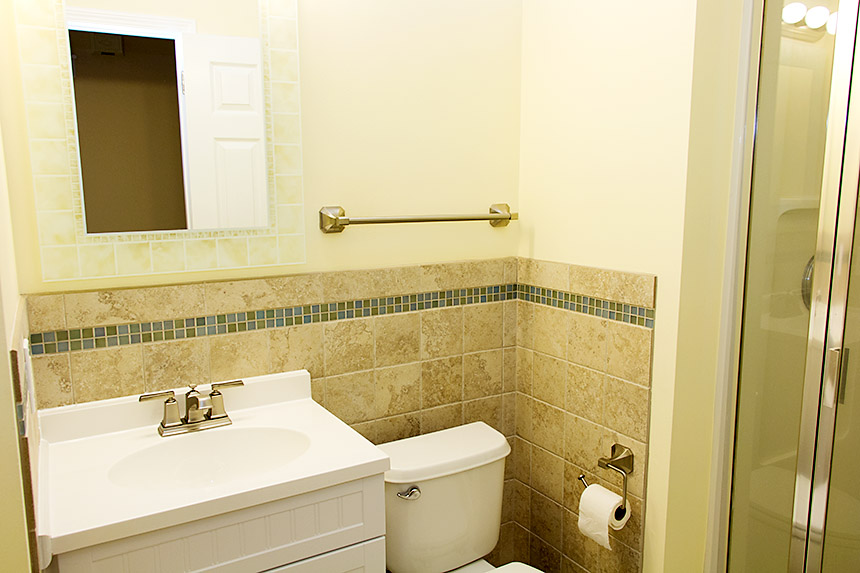
Wall completed. The glass trim tiles imported from Europe somewhere that had been sitting in boxes for the last 3 months are now in their rightful place. Vanity cabinet and plumbing done, toilet cleaned, seal replaced and returned to its original position. Remaining hardware (towel rail, toilet roll holder and thresholds) in place. New vinyl quarter-round installed at baseboard, and that trim re-painted. I think we are at weekend #7 by now.
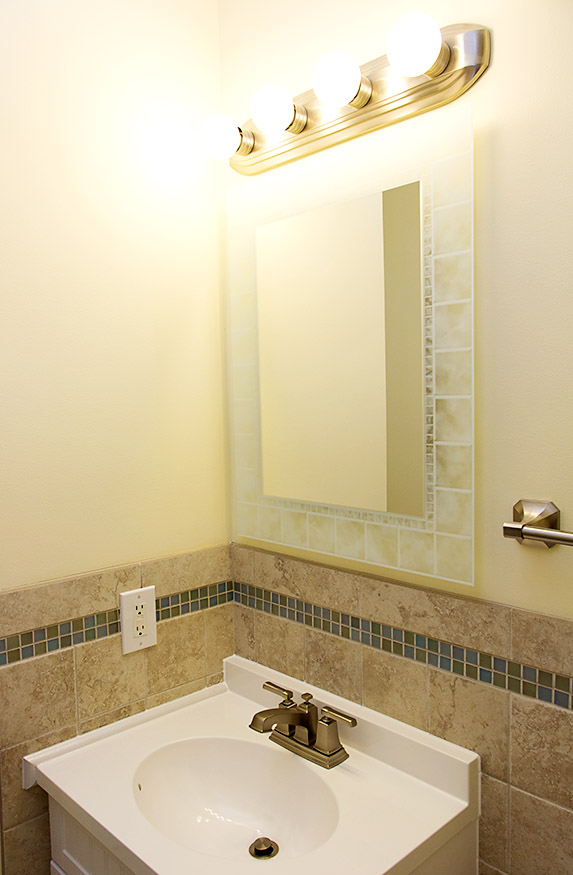
Mirror and light fixture.
My final challenge was to box-in the gap between the vanity and the wall (I chose to keep it flat against the back wall, and let the gap build up along the side). Ultimately this problem is caused because people who frame walls don't appear to understand how to use a square, or the importance of 90 degree corners, but people who build vanities do. Why this is a problem that still exists in the 21st century is one of the mysteries of the universe. Anyway, I used quarter round along the top surface of the vanity, and a 1.5" vinyl strip down the side with more quarter-round to bring it all together.